
Learn how to set up a database in MongoDB Atlas and connect to it using Node.js, with examples
In this blog, we will
- Set up a MongoDB Atlas Account and database with credentials and connectivity
- Code a schema using Mongoose in Node.js
- Code a route and controller to add a database and document to MongoDB Atlas
- Test the route using Postman to create the document
- Code a route and controller to get documents from our database in MongoDB Atlas
- Test the route using Postman to get the data
We will use a nicely organized Node.js shell program that you can keep.
As usual, you can find a fully working project on my GitHub
Node.js version 12.18.3
What is MongoDB Atlas?
MongoDB is a cross-platform document-oriented database program that uses JSON-like documents with optional schemas. MongoDB Atlas is a cloud-hosted MongoDB service where you can deploy, operate and scale MongoDB databases starting with a free-tier.
Create an Account in MongoDB Atlas
Go to https://www.mongodb.com/cloud/atlas and click the Start Free button.
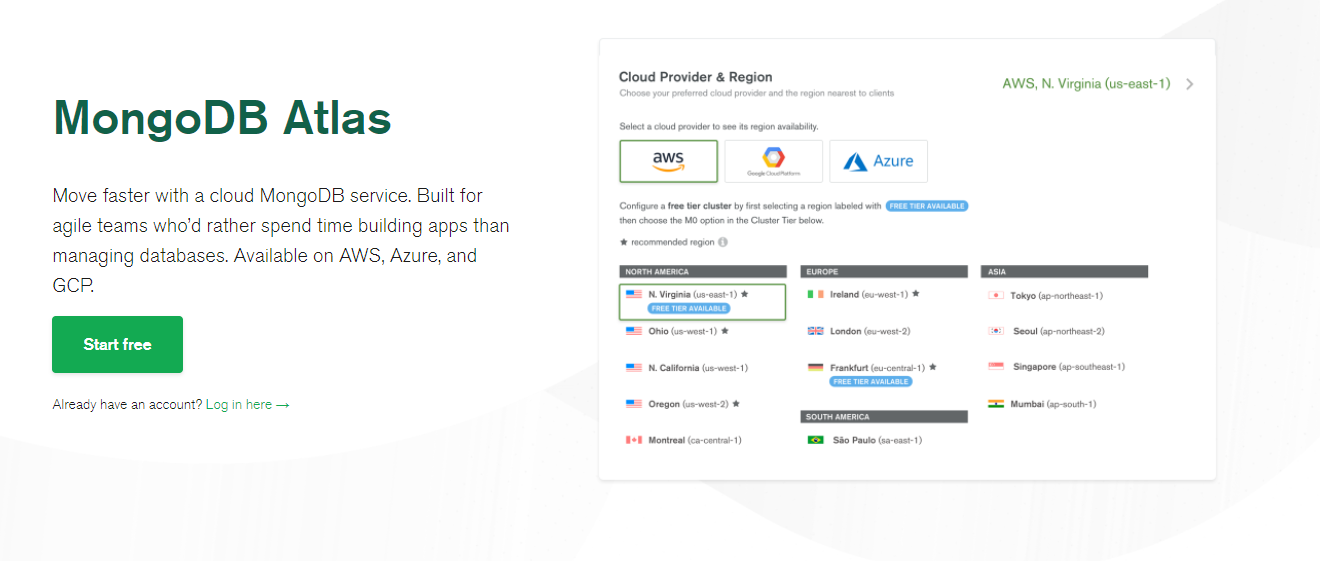
Register a new Account.

MongoDB Atlas offers many options for your application. For our purposes, we will use the Free Tier, which is always a good idea to get started.

Next, it will ask you where you want to host the cluster. I chose AWS. Click the Create Cluster button.

It will take a few minutes to set up your account. Note that in the lower left, it will walk you through the steps we are about to go through.
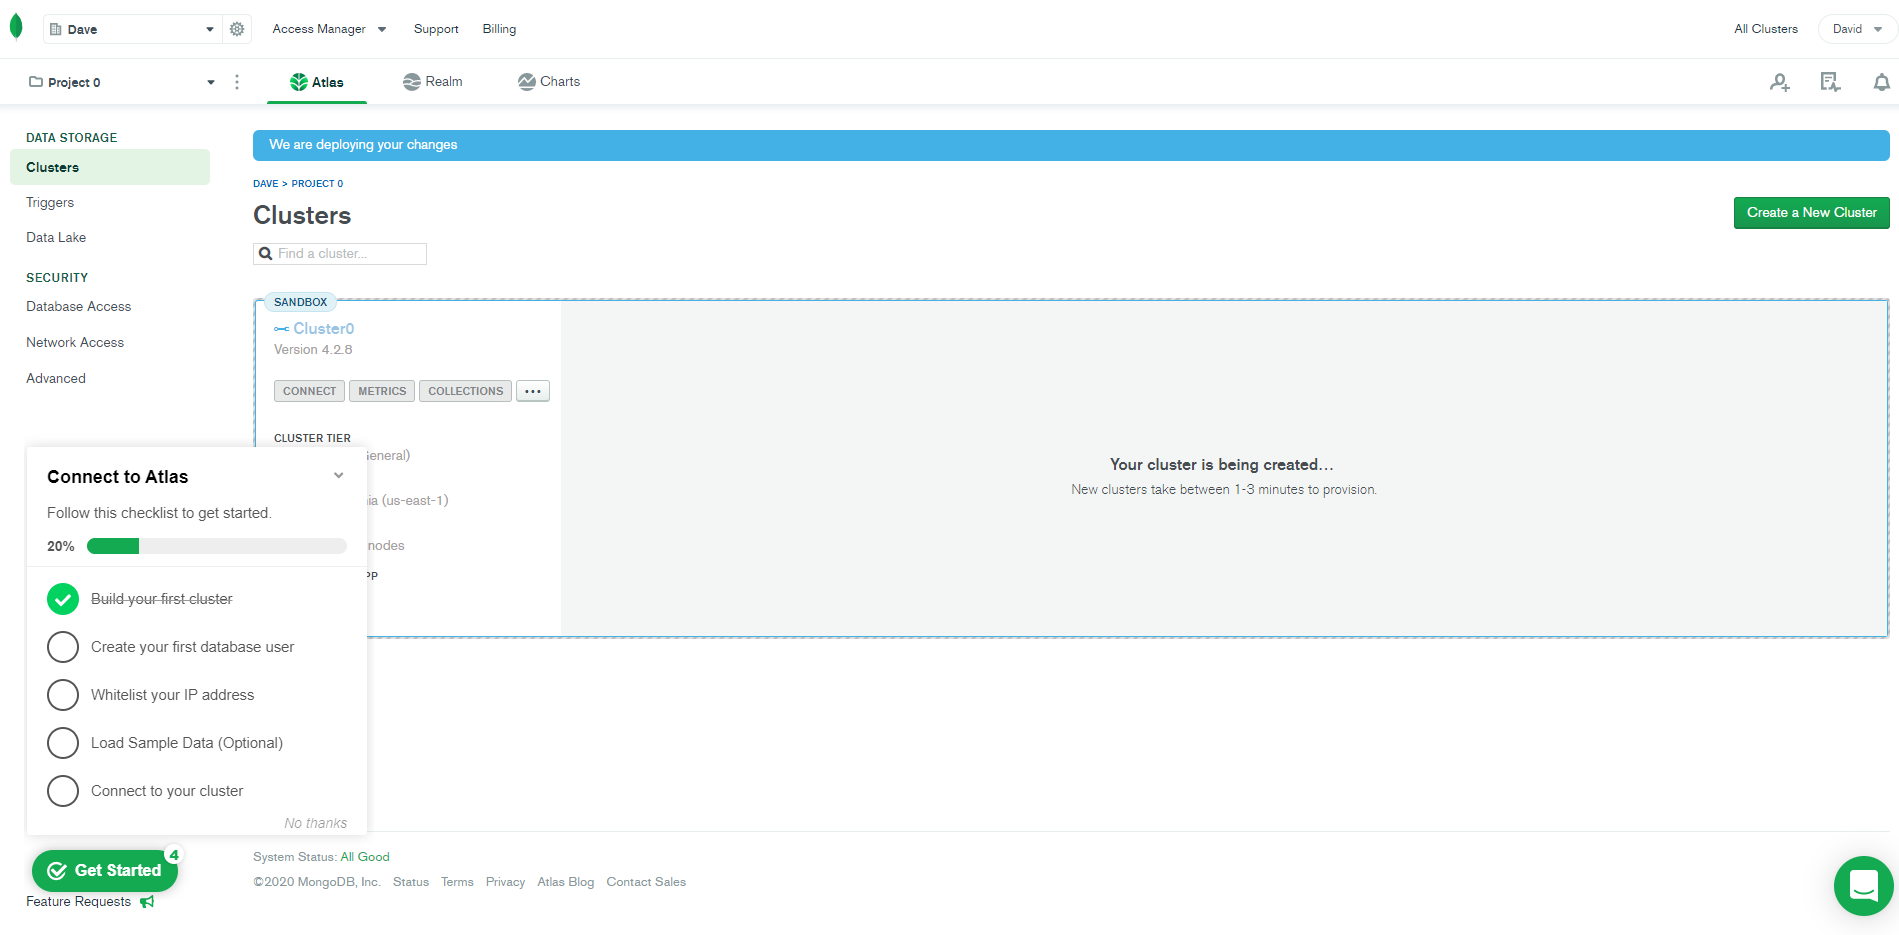
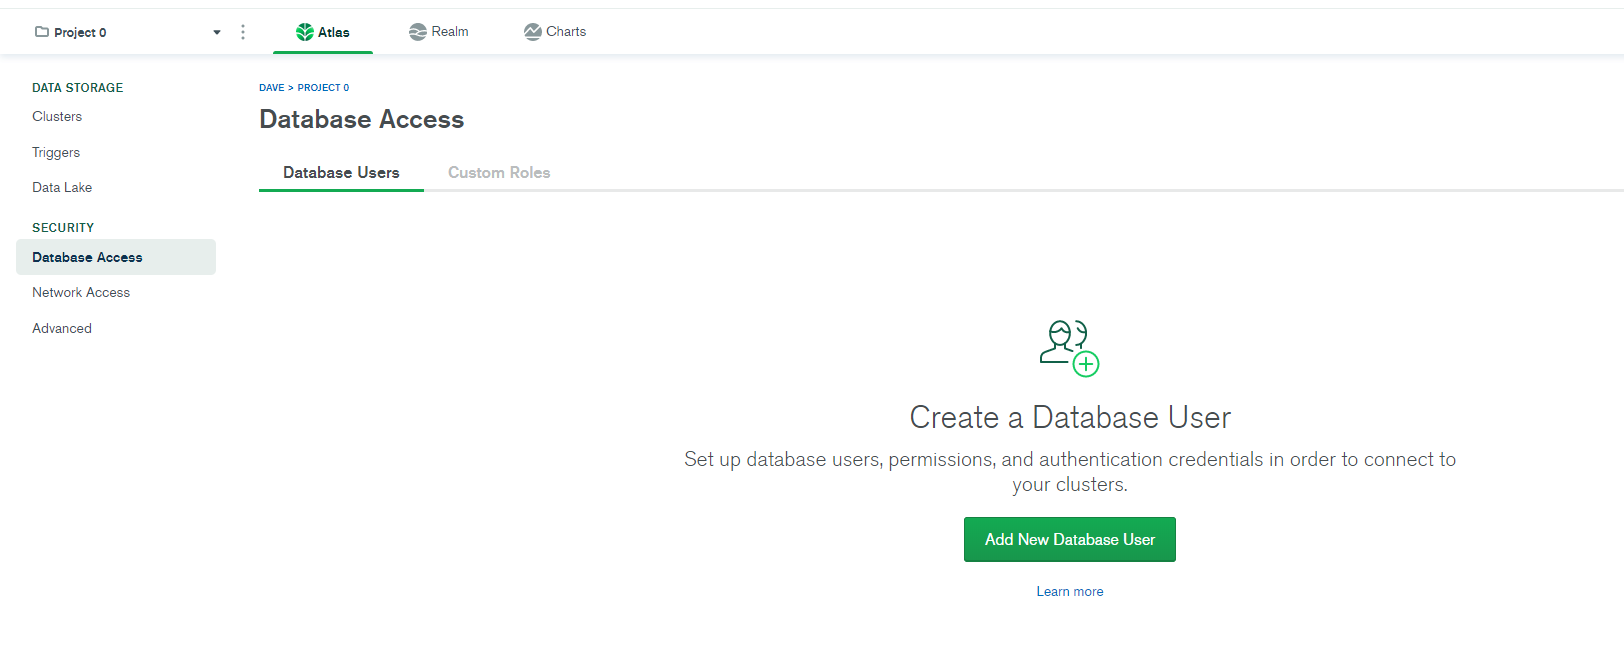
Set up a Database User
When your cluster is created, click on the Database Access button and then click the Add Database User button to create a database user.
For the free-tier, we can set up a password. I called the user ‘Admin’ and used an Autogenerated Secure Password. Be sure to copy the password and save it. You will need it later when accessing from Node.js and then press the Update User button. It may take a few minutes to set up your database user access. Please note that this account in this blog was deleted after I created this blog so my credentials no longer work.

Set up Network Access
Click on the Network Access button and then click the Add IP Address button.
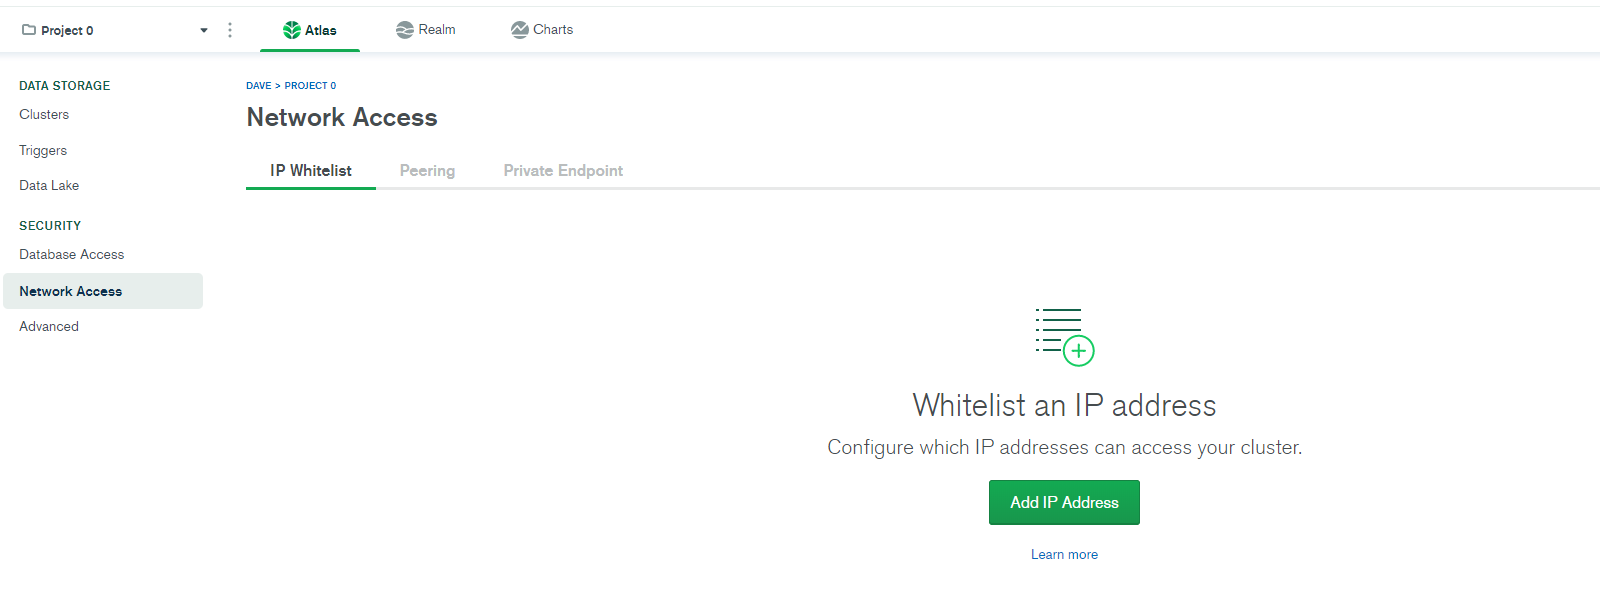
Next, you can whitelist a specific IP address or you can allow access from anywhere. We will allow access form anywhere by clicking the Allow Access From Anywhere button and then clicking the Confirm button. It may take a few minutes to set up your network access.

Load Sample Data
This optional step will load some sample data that you can use to try out MongoDB Atlas and learn how to configure schemas. If you would like to do this, click the elipsis next to the Collections button and select Load Sample Dataset.

It will take a few minutes to load the data and then you will see several different databases with dataasets like this.

We are not going to use the sample data. I will show you how you can use Node.js and Mongoose to create a database and documents from Node.js!
Connecting to the Cluster
The last step is to get the connection information we will need to access our cluster. Click the Connect button.

There are three ways to connect to your MongoDB Atlas database. We are going to use the Connect Your Application option.

Select the Node.js driver and click the Copy button to copy the connection string. Save this for the next step.

Overview of Node.js shell
You can download the Node.js shell (with all of the Mongoose) code from my GitHub. Here is a brief overview of what’s included and how it is structured.
The entry point is server.js which sets up listening on port and adds in app.js. app.js adds in other important libraries like express and body-parser, our database models from db.js, our routes from routes.js and CORS. db.js sets up Mongoose which is an invaluable library which makes it easy to access our Mongo DB database and brings in our schema definition from test.js. Finally, our routes point to an associated controller in mongo-test.js that will handle accessing our database.

Database set up in Node.js
Let’s look at our database configuration in db.js. Here we bring in Mongoose. Here is where we connect to our MongoDB Atlas database. It is good practice not to embed the key in the code so we used an environment variable which we store in our nodemon.json file. Be careful if you upload your code to GitHub because this key will be visible. I have deactivated mine after completing this blog. Let’s look at nodemon.json below.
var mongoose = require('mongoose');
var gracefulShutdown;

mongoose.connect(process.env.MONGO_CONNECT, { autoIndex: false });
mongoose.set('useFindAndModify', false);

// CONNECTION EVENTS
mongoose.connection.on('connected', function() {
  console.log('Mongoose connected');
});
mongoose.connection.on('error', function(err) {
  console.log('Mongoose connection error: ' + err);
});
mongoose.connection.on('disconnected', function() {
  console.log('Mongoose disconnected');
});

// Capture App Termination / restart events
// To be called when process is restarted or terminated
gracefulShutdown = function(msg, callback) {
  mongoose.connection.close(function() {
    console.log('Mongoose disconnected through ' + msg);
    callback();
  });
};
// For nodemon restarts
process.once('SIGUSR2', function() {
  gracefulShutdown('nodemon restart', function() {
    process.kill(process.pid, 'SIGUSR2');
  });
});
// For app termination
process.on('SIGINT', function() {
  gracefulShutdown('app termination', function() {
    process.exit(0);
  });
});

// Bring in Schemas and Models
require('./test');
This is where we paste the connection string from above. Then we have to replace *
Before:
{
    "env": {
        "ENVIRONMENT": "development",
        "MONGO_CONNECT": "mongodb+srv://admin:<password>@cluster0.llpfw.mongodb.net/<dbname>?retryWrites=true&w=majority",
        "CORS_ORIGIN": "*"
    }
}
After:
{
    "env": {
        "ENVIRONMENT": "development",
        "MONGO_CONNECT": "mongodb+srv://admin:CZd3mMoCU9HaeJKv@cluster0.llpfw.mongodb.net/test?retryWrites=true&w=majority",
        "CORS_ORIGIN": "*"
    }
}
Setting up our schema
Rather than configure our schema in MongoDB Atlas, which you can do, we will set it up in our code using Mongoose.
This is the test.js file. Here we include mongoose as well as mongoose.Schema. I have set up a document called testSchema with just one field called item. Adding { timestamps: true } will cause MongoDB to automatically add createdAt and UpdatedAt time stamps. MongoDB will also automatically add a unique key called _id to our document when we add a new document.
Then we use create a mongoose model called test from our testSchema configuration.
var mongoose = require('mongoose');
var Schema = mongoose.Schema;

var testSchema = new mongoose.Schema({
  item: {
    type: String
  }
},
{ timestamps: true });

mongoose.model('test', testSchema);
Now we are ready to add a document.
Add a document
In the routes.js file, we set up two routes. One to add data and one to get data. Each points to a method in the mongo-test.js file in the controllers folder.
const express = require('express');
const router = express.Router();

const ctrlMongoTest = require('../controllers/mongo-test');

router.post('/mongo-test', ctrlMongoTest.addTestData);
router.get('/mongo-test', ctrlMongoTest.getTestData);

module.exports = router;
In the mongo-test.js file, let’s look at the addTestData method. Here we again include mongoose and we also create a variable called Test using the mongoose model test we created above. Then we take in a parameter passed through req.query and create a JSON object, which includes the one field we have in our test schema. Then we create a new Test object and assign it to variable doc. And then we call the Mongoose save method with a callback function that tests for an error and returns the result.
const mongoose = require('mongoose');
const Test = mongoose.model('test');

module.exports.addTestData = async function(req, res) {

    var testDoc = {
        item: req.query.item
    };

    var doc = new Test (testDoc);

    await doc.save(function(error, result) {
    if (error) {
        return res.status(500).json({"status":500, "message":error.message, "error":error});
    }

    return res.status(201).json(result);
    });
};
Let’s try it out using Postman, a great app for calling APIs. Here, we set up a POST request pointing to our mongo-test route, passing our item parameter with the value Hello World!. And we receive our results showing it saved the document.

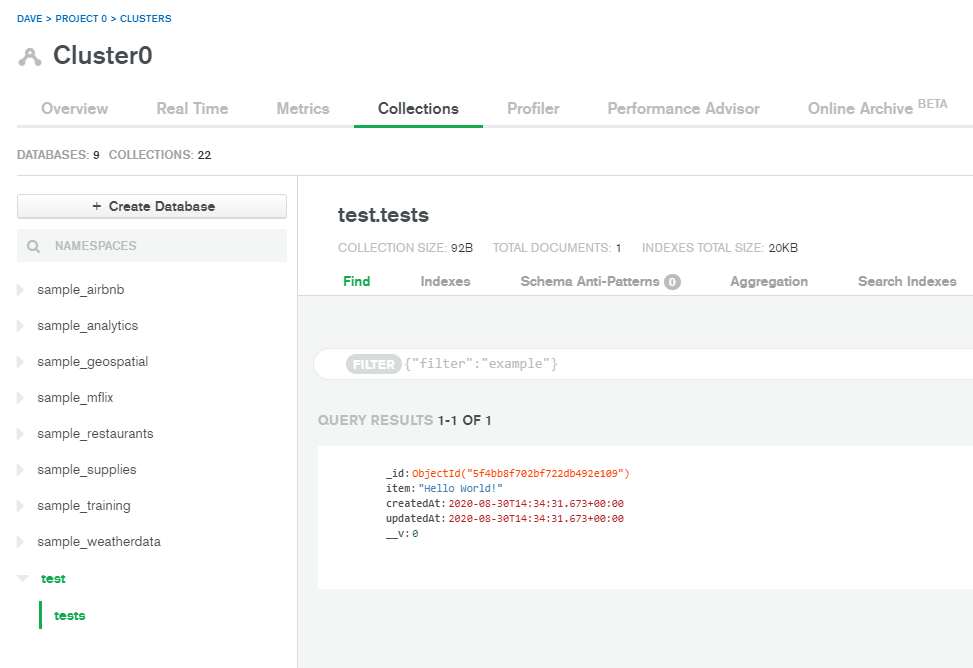
Let’s look into Mongo DB Atlas to see that the document is really there. Notice that Mongoose created the test database for us and the document test with the correct data!
Get our data
Back to our controller mongo-test.js. Let’s look at the getTestData method. Here we use the Mongoose Find method which returns all the test documents in the test database.
module.exports.getTestData = async function(req, res) {

    Test.find().exec(function(error, result) {
      if (error) {
          return res.status(500).json({"status":500, "message":error.message, "error":error})
      } else {
        return res.status(200).json(result);
      }
    });
};
Let’s try it out using Postman again. Here, we set up a GET request pointing to our mongo-test route and we see our data!

Conclusion
In this blog, we have
- Set up a MongoDB Atlas Account and database with credentials and connectivity
- Coded a schema using Mongoose in Node.js
- Coded a route and controller to add a database and document to MongoDB Atlas
- Tested the route using Postman to create the document
- Coded a route and controller to get documents from our database in MongoDB Atlas
- Tested the route using Postman to get the data
Feel free to contact me at dave@dev-reboot.com if you have any questions or comments!
Keep on developing!